First off, I get my magnets from KJ Magnetics. They're a fantastic supplier and from my searches have the best combination of selection and prices. The exact type of magnets you use on this project really don't matter, as you can make any type fit the setting. I just used ones that I had left over from other projects.
 The first step is to glue in your mounting magnets. Don't worry about the polarity of these, they can be the same or different. They need to be flush with the surface of the plastic, so you may have to drill a little. Don't drill into your finger like I did.
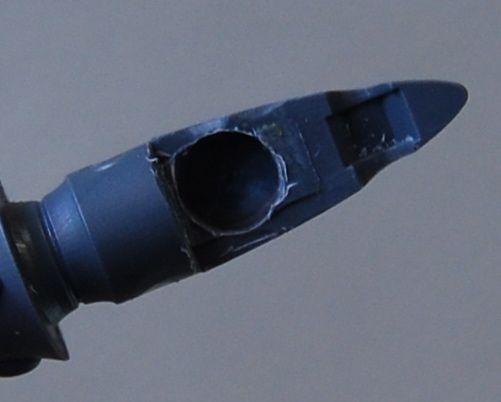 Drill out a wider and deeper hole than you need on the guns. The reason for this is that we'll make a greenstuff setting, and we need room to work. I used a 3/16 drill bit to make the hole.
 Now set the gun magnet on top of the mounting magnet, and place a ball of greenstuff in the setting. There's two ways to do this from here. The first is to squeeze the two together and let the GS pick up the magnet into the setting and pull it out quickly (the fast but unreliable way), or to wet the top of the magnet so it doesn't stick to the GS, press in the magnet then pull it apart and wait for the GS to cure and then glue the magnet into the setting you just made (the slow but reliable way). Here I made the setting and glued it later, but on the Night Spinner guns I used the first method. Whatever works for you.
 Here you can see the magnet in the GS setting. Make sure the GS fully cures before you go around testing it. I like to add a dab of superglue to the edges just to help it stay in place.
 Fire Prism...
 ...and Night Spinner!
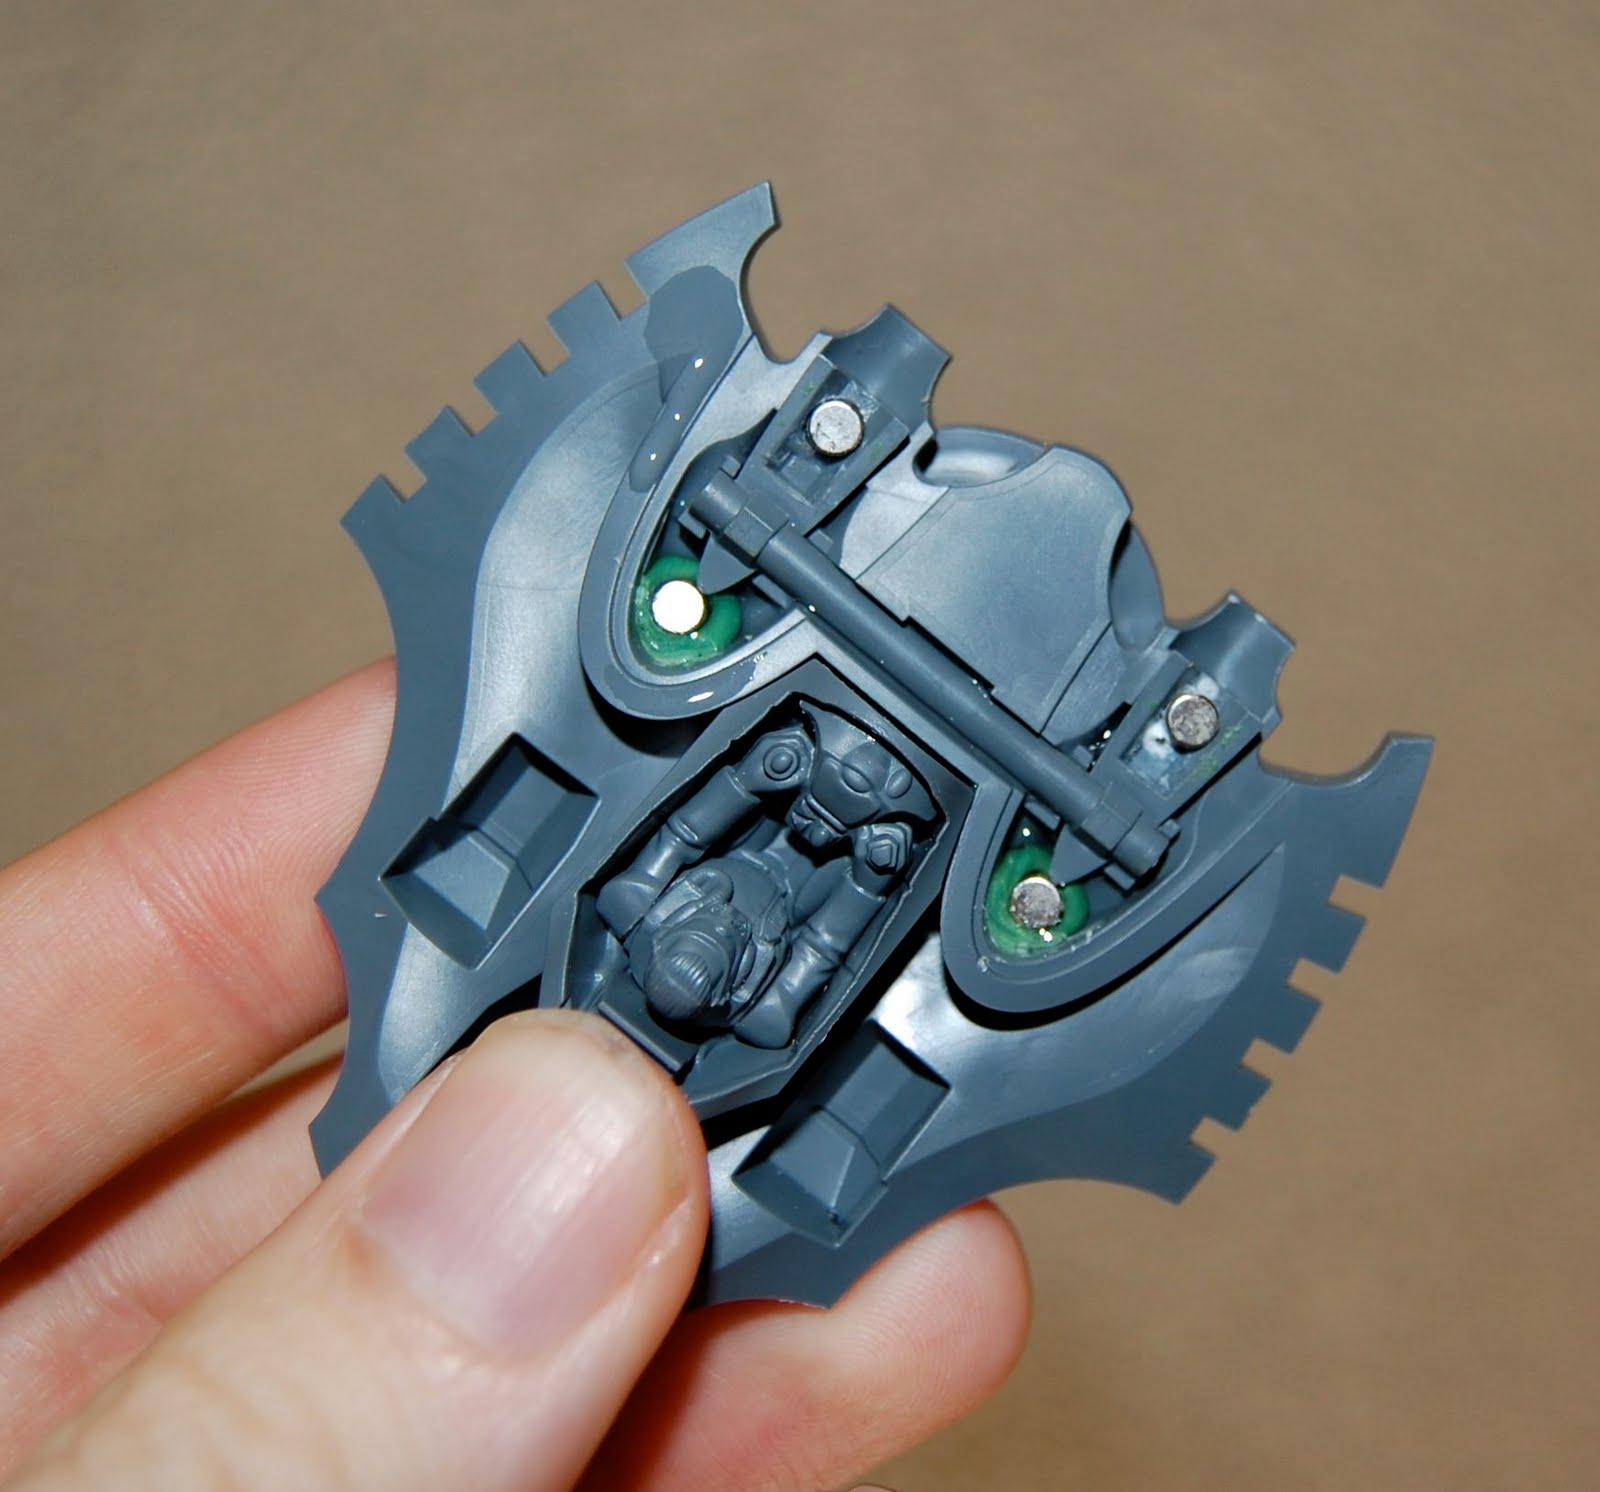 Okay, now for the housing. Here I used some GS to make a setting for the mounting magnet. Make sure it is far enough back that it won't get in the way of the guns. You can actually trim off the end of the guns (the part that goes into the housing) since no one will see it and it serves no functional purpose.
 Use the GS to make a setting again. Since the housing doesn't bear any weight you can use a smaller magnet. You could even just use a portion of a paperclip if you wanted. Just be careful that you test the fit with the upper portion of the turret hull on or else the housing will not fit properly.
  Here you can see all the housings magnetized.

Honestly, I feel like the Nightspinner is extremely useful (and annoying to all my opponents) The nice thing about it is all the difficult and dangerous terrain tests you can pop with it.
ReplyDeleteHave you tried magnatizing the flyer base on the prism/spinner?
ReplyDeleteIf so... on what magnet size?
Erik, yes I have. I used the 1/4" magnet except I used the thicker one. It works just fine. I sealed it on with a ring of epoxy. Cut your stand a bit shorter because it raises the height of your vehicle. It holds up even the old metal prism.
ReplyDeleteCan I just check how you did the shuriken catapults/cannon to mount, also is it possible to make the rear door interchangable or would that be more hassle than it's worth?
ReplyDeleteIassick: For the cannon it's just a bit of plasticard over the hole where the gun mounts, and then a magnet on top of the gun. I'll see if I can do a post on that later.
ReplyDeleteFor the rear door, I wouldn't bother. It's possible but since it's only cosmetic I wouldn't even worry about it unless you really don't like those vanes.
Thanks, I'm a first-timer when it comes to using magnets and this blog was exactly what I'm looking for.
ReplyDeleteSo with the chin guns did you magnetize the guns directly to the hull, or was the bit they'd clip on to still there?
For some of them I left the bit on the gun instead of the bit on the hull, and for others I didn't have any more bits so I just glued the magnet to the top of the gun. It fits just fine.
ReplyDelete